- Login to cPanel using Email Account and Password
- List will appear to you ,choose Services
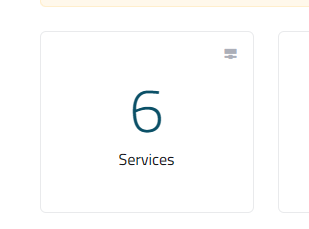
- List of Services will appear to you ,choose the Service you want to control

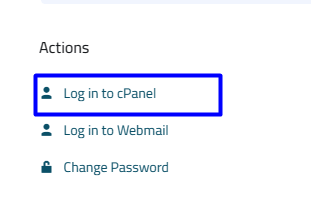
- List of Actions will appear ,choose Login to cPanel
- list of Files will appear , choose Web Disk As in the Following image

- Under Create an Additional Web Disk Account, in the Username text box, type the username.
- In the New Password text box, type the password.
-
In the Password (Again) text box, retype the password.
- In the Directory text box, cPanel automatically fills in the user's Web Disk directory based on the username that you typed in step 3. To change the directory, type the directory name you want to use in this text box.
- The default permissions for the directory are for full read and write access. To grant the user read permissions only, click Read-Only.
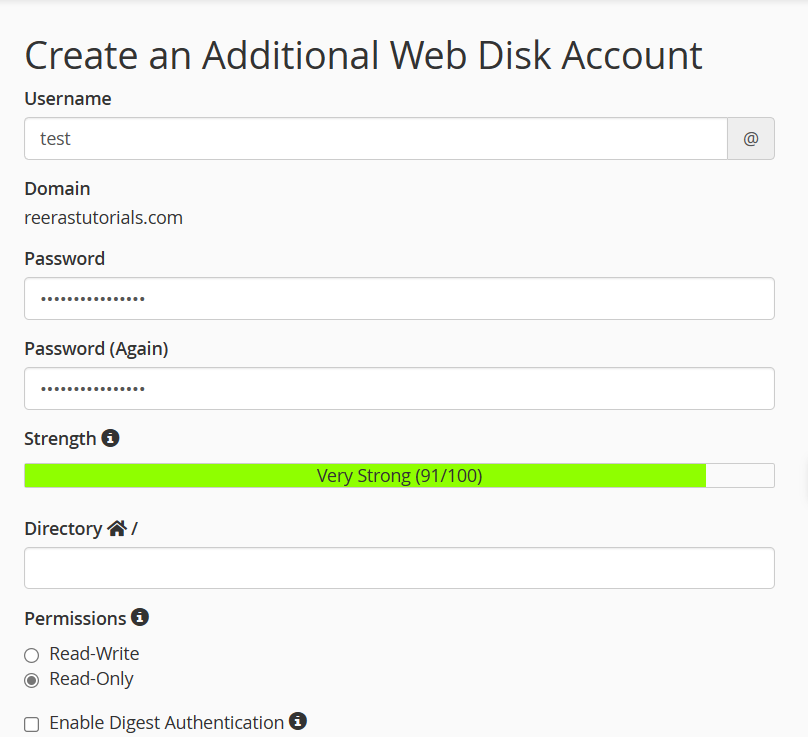
- after inserting your data ,click Create

